
Built-ins turn a flat wall into part of the house's architecture, not just furniture sitting against it. For a partial shelving run or a stock-cabinet conversion, a confident DIYer can handle the work; a full-height media wall, anything touching a fireplace, or work that triggers permits calls for a contractor. Specialized contractors handle the second category as part of renovation-grade cabinetry work across the GTA.
TL;DR:
- Built-ins with fireplace or electrical integration require permits, structural changes, and professional tradespeople, making DIY options unsuitable.
- Material choices like plywood durable for shelving and veneer for fronts impact long-term look and cost, with hardware upgrades adding up quickly.
- Accurate measurement and precise scribing ensure a seamless fit, especially around uneven walls and ceiling heights, avoiding gaps or sagging shelves.
- Layout balances open and closed storage, with a general ratio of one-third open to two-thirds closed, tailored to entertaining style or family needs.
- Larger, complex built-in projects should be integrated into full renovations to ensure proper planning, permits, and coordination, rather than treated as afterthoughts.
Table of Contents
- What are living room built-ins, and which layout fits your space?
- How do you measure and plan a built-in correctly?
- Should you DIY your built-ins or hire a contractor?
- Which materials and finishes hold up best?
- What are the rules for AV and fireplace integration?
- What does a living room built-in typically cost?
- Why built-ins deserve a renovation mindset, not an afterthought
- Ready to plan a built-in as part of a larger renovation?
- Sources
- FAQ
What are living room built-ins, and which layout fits your space?
Built-ins are cabinetry and shelving fixed permanently to the wall or floor, scribed to fit the room's exact dimensions rather than sold as a standalone piece. That distinction is what separates a "bookcase" from what industry professionals call millwork or custom cabinetry. It runs floor to ceiling, wraps into corners, and disappears into the trim the way a closed door disappears into a hallway.
A handful of layouts show up again and again in well-executed living rooms, each solving a different problem:
- Media wall with stepped depths — a TV and components sit in a deeper centre section, flanked by shallower shelving for books and display.
- Fireplace flanks — cabinetry on either side of a fireplace, with open shelving above and closed storage below.
- Floor-to-ceiling library — continuous shelving along one wall, often with a rolling ladder or simple fixed access.
- Window seat with storage — a bench built into a bay or nook, with drawers or lift-top storage underneath.
- Under-stair drawers — awkward triangular space converted into pull-out drawers or a small desk nook.
A reliable starting ratio for shelving is one-third open, two-thirds closed. Open shelving shows off books, art, and objects; closed cabinetry hides cable boxes, board games, and the clutter nobody wants on display. Homeowners who entertain often push toward more open shelving for display; families with young kids usually flip that ratio toward more doors and drawers. Design galleries collecting dozens of built-in styles consistently point to that same rough split as a workable baseline before adjusting for taste.
Depth and vertical rhythm do more for perceived scale than most homeowners expect. A single flat depth across an entire wall reads as one big box. Varying it, deeper where the TV and electronics sit, shallower where books or décor live, breaks up the mass and makes the whole wall feel intentional rather than bulky. Add a warm LED strip under a floating shelf or inside a glass-front cabinet, and even a modest built-in starts to look like a design feature instead of a storage fix.

How do you measure and plan a built-in correctly?
Nothing ruins a built-in faster than a visible gap between the cabinet and the ceiling, or a shelf that sags under a full run of hardcovers. Getting the planning right up front avoids both.
Scribing is the process of trimming the cabinet's edges on-site so they meet the actual, imperfect surfaces of your walls, floor, and ceiling. Few rooms are perfectly square. Cabinetmakers specializing in custom millwork recommend measuring floor-to-ceiling height, wall plumbness, and corner angles at multiple points along the run, not just once at the centre, because a wall can be plumb at one end and off by half an inch at the other.
Depth should change based on what the section holds:
- Books and display shelving: 11 to 13 inches is enough for most hardcovers and decorative objects.
- Media and component sections: plan 14 to 16 inches minimum, and closer to 16 to 24 inches for deeper consoles or gaming equipment.
- Desk or work surfaces: 24 inches or more, matching standard desk depth.
Shelf span matters just as much as depth. An unsupported shelf loaded with books starts to bow once it stretches past about 30 to 32 inches, according to design and installation guides that track common built-in failures. Add a vertical divider or upgrade to thicker stock before you hit that span, not after the sag shows up.
If a TV is going into the wall, keep the screen's centre roughly 42 inches from the seated eye line on your sofa. That number shifts with screen size and seating distance, so measure your actual couch before locking the cabinet height.
Pro Tip: Rough in your cable chases and outlet locations before the carcass goes in. Retrofitting power and coax behind finished cabinetry is one of the most common, and most avoidable, extra costs homeowners run into.

Should you DIY your built-ins or hire a contractor?
The honest answer depends less on your skill level and more on what the project actually involves.
DIY makes sense for a straightforward run: stock cabinets from a big-box retailer, joined side by side to create one continuous face, with custom trim and a paint job to unify the look. The basic workflow is to buy matching stock cabinet boxes, screw them together for a seamless run, build a simple plywood top and side returns to close gaps, then finish with paint, crown, and upgraded hardware. It is genuinely one of the more forgiving carpentry projects for a homeowner with a table saw and some patience.
Hiring a contractor or cabinetmaker becomes the smarter move once any of these apply:
- The built-in wraps a fireplace or sits near a gas appliance.
- The project requires a permit or touches structural elements like a load-bearing wall.
- Wall or ceiling irregularities demand real on-site scribing for a tight, gapless fit.
- Electrical work goes beyond a simple outlet, think dedicated circuits, in-wall wiring, or moving switches.
Complex electrical, any gas line work, and structural changes are the three places where DIY should stop and a licensed trade should start.
Which materials and finishes hold up best?
Material choice drives both the budget and how the piece looks in five years, not just on install day.
For the cabinet body, cabinet-grade plywood outperforms MDF (medium-density fibreboard) on durability and holds screws and hardware better over time, though it costs more. MDF takes paint beautifully and is cheaper, but it is heavier and more vulnerable to swelling if it ever gets wet, so it is a better fit for painted doors than structural shelving carrying real weight.
Door and front styles run from simple painted flat panels to wood veneer to fluted or reeded fronts, which have become a defining look in current living room cabinetry ideas. Painted MDF is the budget-friendly, timeless option. Veneer brings real wood grain at a lower cost than solid wood. Fluted panels add texture and shadow lines but usually cost more to produce and finish.
Hardware is where the budget quietly disappears if you are not watching it:
- Soft-close hinges and drawer slides, worth the upgrade on every door and drawer.
- Integrated LED lighting, either puck lights or a continuous strip, wired during construction rather than added after.
- Adjustable shelf pins over fixed shelving, so the layout can change as your needs do.
Pro Tip: Drawer inserts and adjustable shelving cost little at the build stage but are expensive and disruptive to retrofit later. Spec them into the design even if you do not need them on day one.
What are the rules for AV and fireplace integration?
Built-ins that swallow a TV or wrap a fireplace carry real technical and safety constraints that pure shelving does not.
For AV components, plan 16 to 24 inches of depth wherever electronics actually sit, and build in airflow behind any closed door. Cable boxes, gaming consoles, and receivers generate heat, and installers who focus on media-wall integration note that ventilation gaps or a small fan matter as much as the cable routing itself.
Fireplaces raise the stakes further:
- Follow the fireplace manufacturer's stated clearances to combustible materials exactly, they are not a suggestion.
- Confirm requirements with your local authority having jurisdiction, since clearance and framing rules can vary by municipality.
- Gas fireplace installations generally require a permit application, installation by a qualified technician, and a post-installation inspection, not a DIY afternoon project.
- Structural provisions for major alterations or installations often fall under the National Building Code, which provinces and municipalities adopt or adapt into local requirements.
Once a project involves a gas line, a structural opening, or new electrical circuits, expect additional trades, an inspection, and a longer timeline than a simple shelving install.
What does a living room built-in typically cost?
Cost swings widely based on scale, material grade, and how many trades get involved, so treat any number here as a planning band, not a quote.
Cost drivers stack in a predictable order: overall size and complexity first, then material and finish grade, then any integrated appliances or lighting, then trade work like electrical or gas, and finally local labour rates, which vary significantly across the GTA.
Rough bands to plan around:
- A standalone shallow shelving run with basic paint finishes sits at the lower end of the spectrum.
- A full-height media wall with premium finishes, integrated lighting, and fireplace surround work sits considerably higher, often by multiples of the simple version.
Get an onsite measure before you commit to a number either way. On timing, cabinetmakers report that a simple, pre-measured installation often finishes in a single day, while a media wall combined with a fireplace or window seat typically stretches into a second day to coordinate trades and finishing work.
Why built-ins deserve a renovation mindset, not an afterthought
Homeowners tend to treat built-ins as a weekend add-on after the "real" renovation wraps up. That is backwards. A media wall touching a gas fireplace, running new electrical, and needing precise scribing is a construction project with the same coordination demands as a kitchen remodel, just on a smaller footprint.
The Galley Avenue renovation in Roncesvalles is a good example of what happens when cabinetry gets folded into a full renovation process instead of bolted on afterward: the electrical, the finishes, and the millwork all get planned against the same drawings from day one.
— Cory
Ready to plan a built-in as part of a larger renovation?
If your built-in plan involves a fireplace, structural changes, or a full room reconfiguration, you are past the point where a weekend project makes sense, and that is exactly where a coordinated renovation model earns its keep. Instead of juggling a cabinetmaker, an electrician, and a gas fitter yourself, one accountable point of contact manages the built-in alongside the rest of your renovation from feasibility through completion.
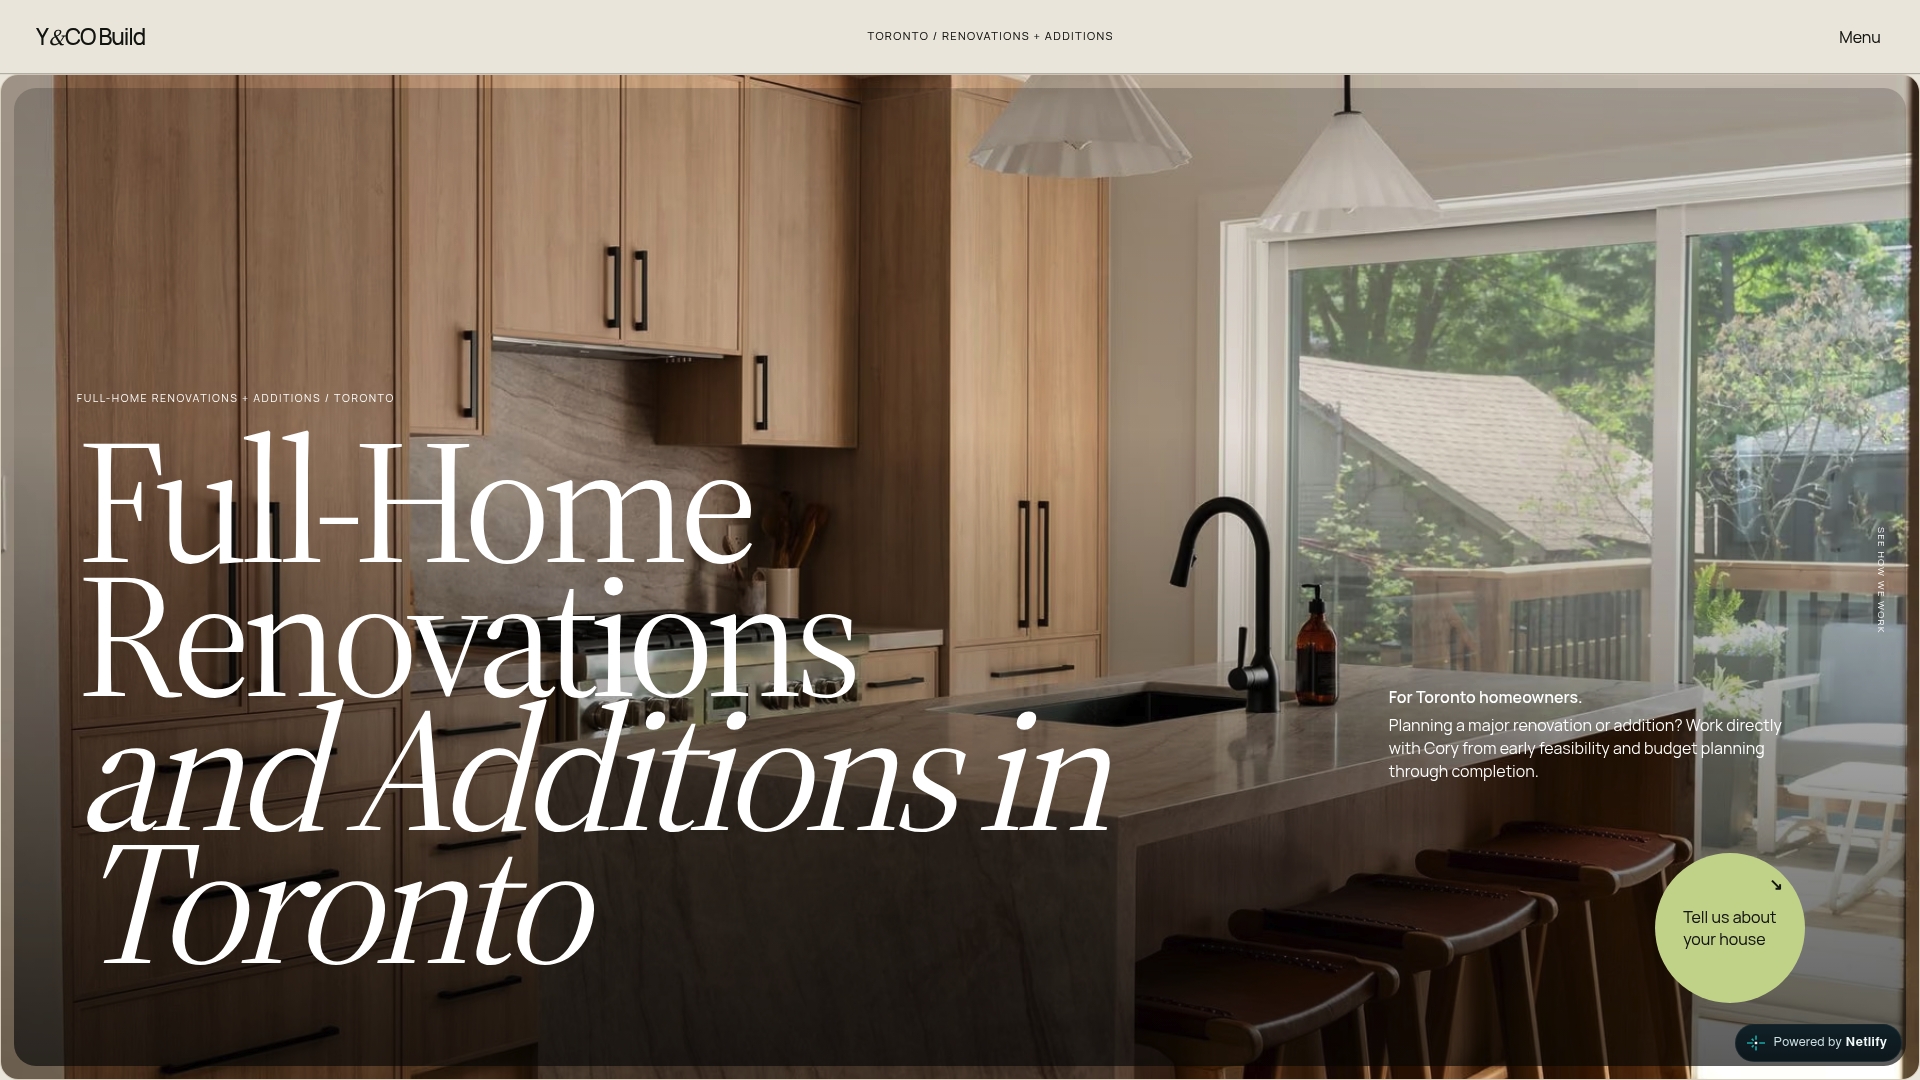
That means the custom cabinetry, the permitting for any fireplace or structural work, the integrated wiring, and the finish carpentry all get scoped and budgeted together instead of as separate headaches. Before you commit to a design, ask any contractor you're considering how they handle scribing, ventilation behind AV components, and permit coordination for gas appliances, the answers tell you a lot about how the finished wall will actually look. Y&CO Build folds built-ins into full home renovations across Toronto and the GTA, and also handles them as part of larger rear and second-storey additions when a built-in is part of a bigger layout change. Reach out to start a conversation about your project and get an onsite measure booked.
Sources
For code and safety details, check the National Building Code and gas fireplace guidance. For design references, browse Dream Spaces' built-in gallery.
- All about gas fireplaces | Natural Resources Canada
- National Building Code of Canada 2020 — abstract | NRC Publications Archive
- Built-In cabinetry | Forma Fine Cabinetry
- Living Room Cabinets Port Coquitlam | My Inspired Space
FAQ
How much do living room built-ins cost?
Cost depends heavily on scale, material grade, and whether the project involves integrated appliances or trades like electrical and gas work. A simple shallow shelving run costs far less than a full-height media wall with fireplace integration and custom lighting, so an onsite measure is the only reliable way to get an accurate number; Project-specific quotes are provided after assessing the space directly.
What is the 2/3 rule for living rooms?
In built-in design, it usually refers to a starting ratio of roughly one-third open shelving to two-thirds closed storage, balancing display space against the need to hide clutter. Homeowners who entertain often shift toward more open shelving, while families lean toward more closed storage.
What are some good ideas for built-ins in a living room?
Popular layouts include a media wall with stepped depths, cabinetry flanking a fireplace, a floor-to-ceiling library wall, a window seat with hidden storage, and drawers built into awkward under-stair space. Mixing depths across the run, deeper for electronics, shallower for books, keeps the wall from feeling like one flat block.
Are built-ins a good idea?
Built-ins add genuine storage and make a room feel more finished by turning a plain wall into an architectural feature rather than leaving it to freestanding furniture. They typically require more upfront planning than off-the-shelf furniture, particularly around measurements, ventilation, and any fireplace or electrical integration, which is why complex versions are usually better handled through a coordinated renovation process like Y&CO Build's rather than piecemeal.